
React Native for Beginners
React Native, developed and maintained by Facebook, is an open source framework to develop cross-platform mobile applications, using the programming language JavaScript.
Currently in its 0.61 version, React Native is based on Facebook’s front-end library called ReactJS and share many concepts. If you are familiar with React, kudos to you! You have crossed the first hurdle. Coming from front-end development background, React uses a virtual DOM which acts as a shadow to real DOM available. When an element changes, that change is reflected on the real DOM by Virtual DOM using a node that corresponds to each element.
React Native is like React, but it uses native components instead of web components as building blocks. So to understand the basic structure of a React Native app, you need to understand some of the basic React concepts, like JSX, components, state, and props. If you already know React, you still need to learn some React-Native-specific stuff, like the native components. This tutorial is aimed at all audiences, whether you have React experience or not.
Create React Native App is the easiest way to start building a new React Native application. It allows you to start a project without installing or configuring any tools to build native code — no Xcode or Android Studio installation required.
STEP 1: Install Node ENV
Lucky for you, Node has a GUI installation so you do not have to do to your command line to have to start writing some lines that you might not probably understand or seems a little bit confusing. You can get the installer package from nodejs.org/en/download/
You will get NPM along with Node.
STEP 2: Install the Create React Native App
At this point, you would need to use the command line. Do not be scared. You are only writing one single line.
Open your command prompt or terminal and type in
npm install -g create-react-native-app
-g is for global.
Once that is done, type in
create-react-native-app DummyProject
Press enter once you type that in. This would take a while for it to get completed.
DummyProject can be any name you wish to give your project or Application.
Once this is complete, follow those steps –
=> cd DummyProject press enter.
=> npm startand press Enter.
This will start a development server for you, and print a QR code in your terminal.
STEP 3: Running App
Go to your app store from an Apple enabled device or the Google play store from an Android device.
Search for Expo. Download and install.
Make sure your phone is on the same network with your computer.
Open the Application and Select to scan code.
In your command prompt or terminal, your code would have displayed when you wrote npm start. Use your phone to scan the QR code.
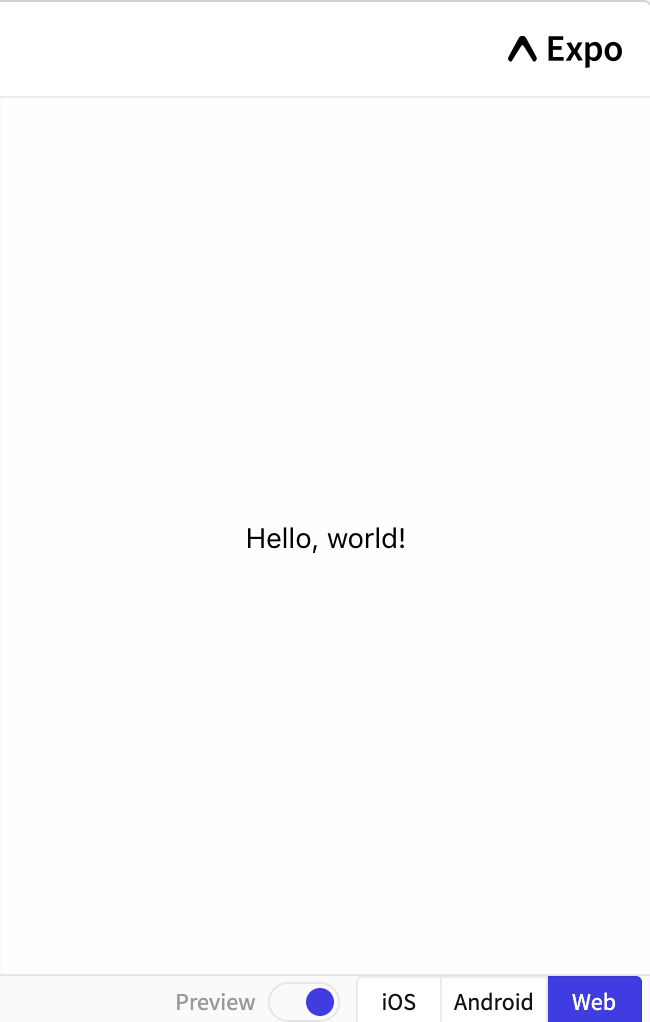
Sample REACT NATIVE app:
In accordance with the ancient traditions of our people, we must first build an app that does nothing except say “Hello, world!”. Here it is:
import React, { Component } from 'react';
import { Text, View } from 'react-native';

export default class HelloWorldApp extends Component {
  render() {
    return (
      <View style={{ flex: 1, justifyContent: "center", alignItems: "center" }}>
        <Text>Hello, world!</Text>
      </View>
    );
  }
}
Output on Expo will be like:
Conclusion
In simple words, React Native brings the React to mobile app development. Its goal isn’t to write the code once and run it on any platform. The main goal here is to learn once and write-anywhere. An important distinction to make.